Mind you, I saw plenty of stained glass windows on Ebay, Craigslist, and at local antique places, but a lot of them are incredibly expensive, or else the condition is poor. But these were beautiful and the price was fantastic.
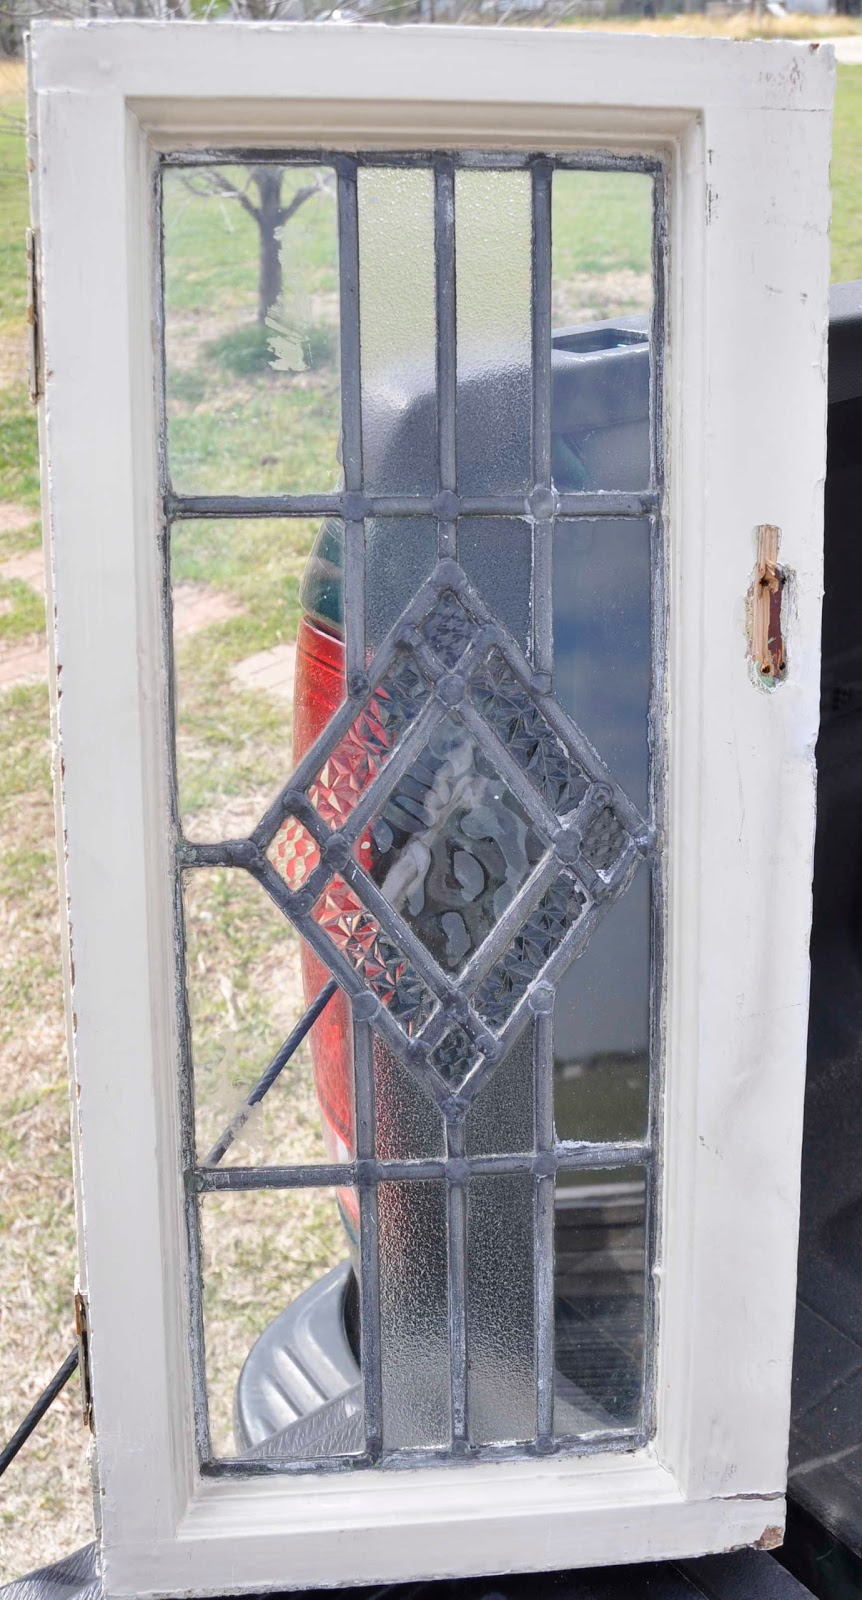
I got two each of this style:


Once I had stripped the molding on the inside, Norm was able to do the flat sides with a sander.


We were very fortunate that we have in Newton a really great stained glass studio, the kind that restores church windows and such: Northeast Stained Glass. The people there were really nice; they soldered the weak spots in the edging for $20 for each window. (We didn't have to repair every one: we got away with doing 3 out of 5.)
Interestingly, the guy at the stained glass place told me that in order to make these windows from scratch it would have cost $1000. (Not sure if he meant $1000 each or $1000 for the two that he happened to be examining at the time.) But still. A pretty damn good deal, if I do say so myself.
As I mentioned, we used a more modern silicone caulk to seal the windows once they'd been nailed in and made secure. Here's a detail picture of the caulking (it already came in brown, we don't even need to paint it):

Once we had re-glazed the windows (or rather, once Norm re-glazed them), it was time for touch up paint, then stain. The touch-up involved covering any recesses that still had white paint in them with brown paint, so that when they were stained it would blend. The painted bits (nail holes, divots and such) just end up looking like a natural blemish in the wood, which is fine if you like the antique look (which I do.) Lemme tell you, the staining is the easy part! Dip a rag, wipe it on, and ta-da! Here's the windows all nicely stained. What a difference, yes?


So pleased, in fact, that halfway through all of this effort (about a month's worth of effort, in fact) I realized we'd better make some shutters to put over them for traveling, winter storage, etc. I do NOT want all of our hard work to be done in by a rock from a dump truck or something. We already have an idea how we're going to do the shutters. Probably plywood with two drawer-handles on to make it easy to place them, and maybe window-sash latches to keep them secure. I'll even stain and seal them so they look nice and last awhile.
The next installment won't be so long in coming, and the subject will be:
The Best Laid Plans
Ta, all!
No comments:
Post a Comment